이번에는 모델에 기존 대화를 입력해서 맥락을 파악하게 해주고 그에 맞는 출력을 얻는 실습을 해보겠습니다.
Message History
먼저 메세지 history를 저장하기 위한 패키지를 설치하고 불러옵니다.
!pip install langchain_community
그 다음 관련 클래스('BaseChatMessageHistory', 'InMemoryChatMessageHistory', 'RunnableWithMessageHistory')를 불러오고, 'get_session_history'라는 함수를 지정하여 기존 대화들을 저장할 수 있도록 해줍니다.
from langchain_core.chat_history import (
    BaseChatMessageHistory,
    InMemoryChatMessageHistory,
)
from langchain_core.runnables.history import RunnableWithMessageHistory

store = {}


def get_session_history(session_id: str) -> BaseChatMessageHistory:
    if session_id not in store:
        store[session_id] = InMemoryChatMessageHistory()
    return store[session_id]


with_message_history = RunnableWithMessageHistory(model, get_session_history)
그 다음 'sesseion_id'와, input에 직접적으로 포함되어있지 않은 정보들을 포함한 'config'를 만들어 모델에 입력해줍니다. 또한 'response'에서 'content'만 추출하여 답변만 간단하게 출력하도록 할 수 있습니다.
config = {"configurable": {"session_id": "abc2"}}response = with_message_history.invoke(
[HumanMessage(content="Hi! I'm Juneon. How are you?")],
config=config,
)
response.contentresponse = with_message_history.invoke(
[HumanMessage(content="What's my name?")],
config=config,
)
response.content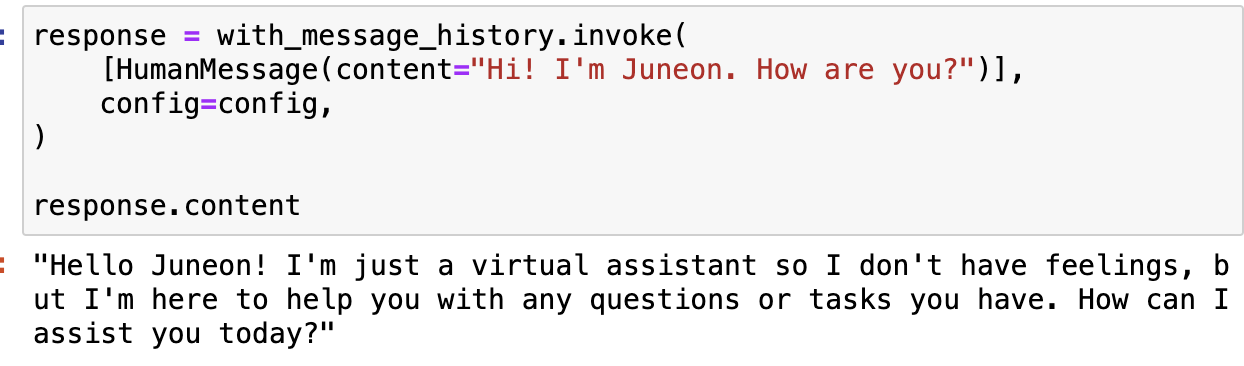

이제 우리가 만든 챗봇이 대화를 기억할 수 있게 되었습니다. 'config' 입력값을 수정하면 새로운 대화를 시작할 수 있습니다. 새로운 대화를 시작했더라도 기존 'config'에 입력했던 값을 입력하면 기존 대화 맥락에서 다시 대화를 할 수 있습니다. 이것이 시중에 나와있는 챗봇들이 많은 사용자와 대화를 할 수 있는 원리입니다.
다음 실습으로는 프롬프트 템플릿을 추가하여 더 복잡하고 개인화된 챗봇을 만들어보겠습니다.
'인공지능 > LangChain' 카테고리의 다른 글
| [LangChain] 공식문서 Build a Chatbot 실습 (3) (0) | 2024.08.26 |
|---|---|
| 검색증강생성 (RAG) (1) | 2024.07.29 |
| [LangChain] 공식문서 Build a Chatbot 실습 (1) (0) | 2024.07.25 |
| [LangChain] 공식문서 Conceptual Guide docs (2) Components (0) | 2024.07.21 |
| [LangChain] 공식문서 Conceptual Guide (1) Architecture, LCEL (0) | 2024.07.21 |


